Thursday, March 17, 2016

Pretty much demolished the kitchen....

We've been neck deep in the kitchen remodel for a few weeks now, and it's going much slower than we had hoped, but life happens...kids, work, school...so there hasn't been as much time to work on things as we like, and we're also completing projects as money allows.
 
So just a reminder, this is what our kitchen looked like when we moved in....


This is what it looked like after we demolished those interior walls, and pretty much what it still looks like except we cleaned up the mess!


We also managed to get some of the drywall up.


And we removed the other window, creating another solid wall.

 
The kitchen is currently at a stand still, because we moved onto fixing our terribly rickety(and not kid safe!) side porch!

Thursday, March 3, 2016

The Laundry..

One of the things that first appealed to me in this house was the size of the laundry room.  It was a good 8x8 sized room. Plus it had a "closet" which I later realized was the original kitchen pantry, and that the door and wall that leads from laundry room to kitchen was added in by the previous owners and not original to the home or floor plan.


We enter the home through the laundry room.  The front door of the house actually faces the back yard, so the side door is towards the driveway.  We made the decision to start from this end of the house first for several reason.


1) The exterior wall from the laundry room down to the kitchen window needed serious repair.
2) It's what everyone sees first when they come in.
3) We are wanting to tackle the kitchen first and have it done.

 
We thought this project would be a weekend project, and take several days, but thanks to the help of our oldest kids, and working together as a family, we knocked it out in a day!  We started at 8 am and only broke for meals and drinks. We were finishing up at dusk.


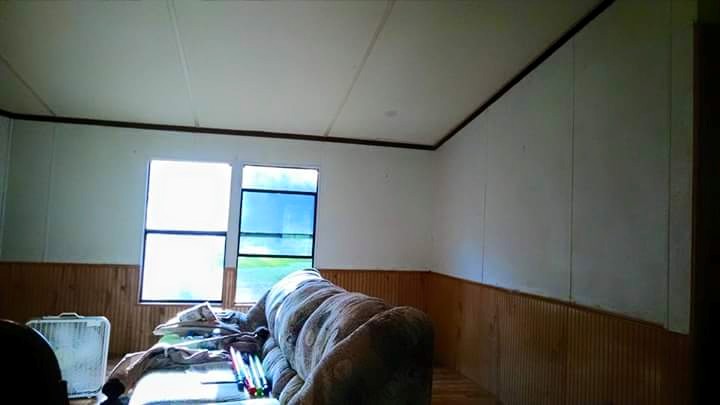
Yes, we decided to take the window out and make it a solid wall. Since we have decided to rip out the wall between the laundry room and kitchen, this will fit perfectly with our new plans for the house.  Later the other window pictured will be removed and that will also be solid wall.

 
And new T1-11 siding on the outside wall.  We will be residing the entire house this way to start, then eventually wrapping and residing with new vinyl siding.
 
 
We hung dry wall on the interior walls (and I didn't get pics) just before we decided to go full on rip out walls.
But that's a post for another day!

Tuesday, March 1, 2016

When painting goes wrong, yet it works.

Since I was painting the living area, and we didn't have all of our furniture moved down from Ohio yet, we knew it was a good time to just paint the master bedroom. Eventually we'll replace all of the dry wall in there, too, but no way were we going to live in a room with canary yellow walls!

Plus, painting it gave it a fresh, clean look.

What we didn't count on was the paint "changing color" on us. I didn't use the Kilz first in the bedroom. If I had, we'd most likely had the color that it should have been.

We had painted the walls of the living space in our Ohio house Earthy Cane. We had a full can of the color left over, and decided to paint it in the bedroom. Instead of an earth tan-ish color, we ended up with gray walls!

Before

 
After!


I have to be honest, I think the gray works!!  Once we replace the drywall, I may be looking into a nice gray for our bedroom.

Why I like Kilz

The very first thing we tackled when we arrived that first week in August were the walls. Being that it's Florida, and several friends that had experience with a home sitting empty warned us, we were concerned that there would be mold in the house due to it sitting empty.  It was suggested that we look into using Kilz primer to paint the walls before we painted them our color choice. 

Here is a before picture of the living room walls.  This wall was the worst of them, but amazingly what we thought was possibly mold was just DIRT!  Lots of it, too. 
 
 
We made it a family affair as we all whipped out sponges, rags, and a bucket of soapy water and went to work. With all of us working together, it didn't take long at all to get them all washed down.
 
What an amazing difference just washing the walls made!
 
After we let them dry for a day, we painted the Kilz. It really brightened things up!  The best part is, that Kilz covers everything!! So any bit of dirt or grossness that wouldn't wash off, is sealed in!


The fireplace is STILL my favorite corner of our living space, but it's currently up in the air on whether or not we keep it.
 
After the kilz had completely dried, we painted the living area a nice extremely light, but breezy blue.


 Thought I should add - Kilz doesn't come out of your clothes!! So either wear a paint suit or something you're not worried about being ruined/stained! Kilz sticks forever! We won't discuss how I ruined 2 paint rollers and I don't know how many brushes....