So, I'm not super good about keeping up with this blog. We've been super busy, and the blog is the one thing that is easy to neglect without guilt.
But I wanted to share the City Biddy coop the Hubster and I built together over this past week. Yes, it took a week because we had to work on it around work and school schedules, and around the rain.
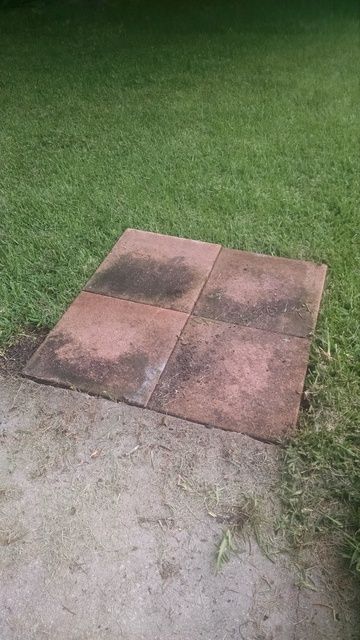
I knew I wanted a foundation of sorts that would prevent anything from chewing in from the bottom. These four 16x16 inch cement tiles worked great for that. These were also repurposed, as they were already here and partially buried in the front yard, so we just dug them out and moved them to the back yard.
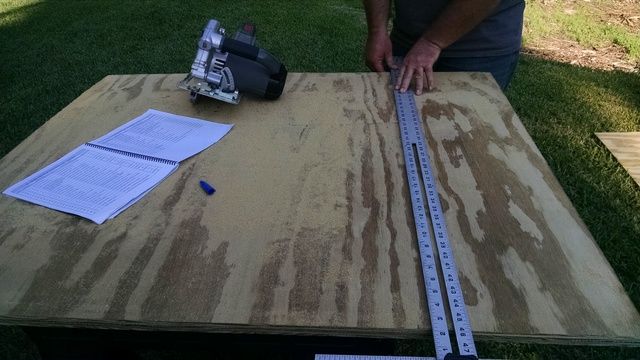
Then we started our cuts for assembling the coop. This was the floor panel. I've had these plans for about 3 years or so, so I was super excited to finally build one!
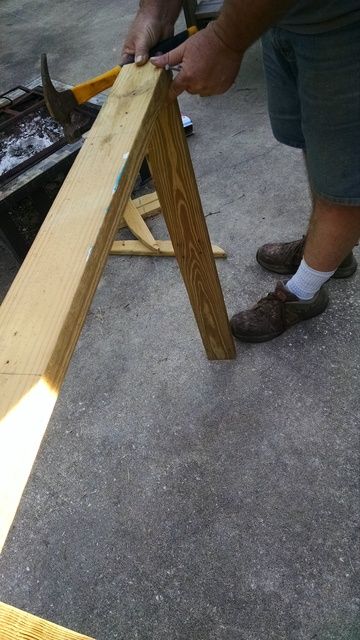
Assembling the floor framing.
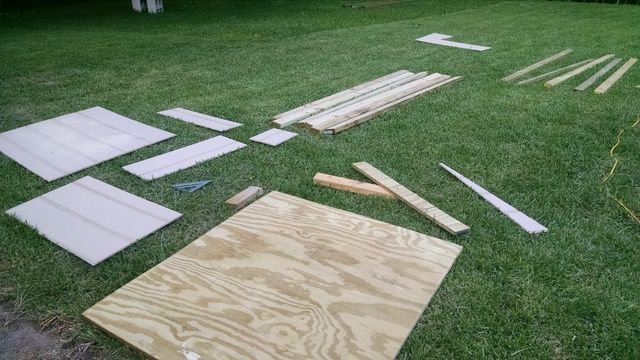
All of the parts are measured and cut out prior to the build.
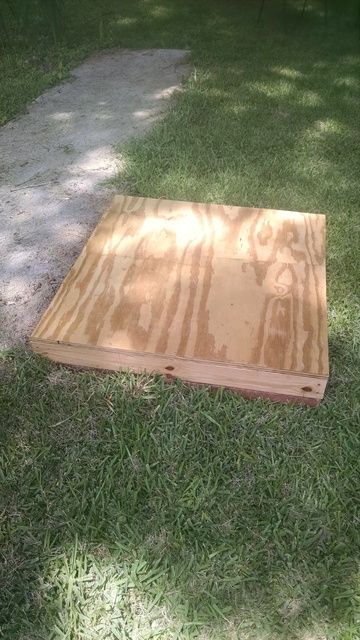
After attaching the floor panel to the frame, we set it on the cement tiles. I love that it fit right up against the sidewalk. This provides a nice walkway to the door side of the coop.
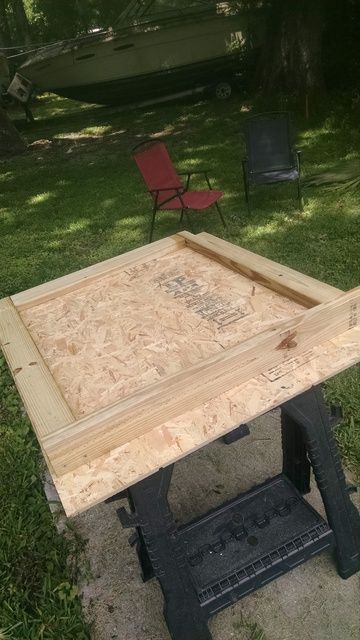
Framing up the back wall. This was the absolute easiest wall. LOL!
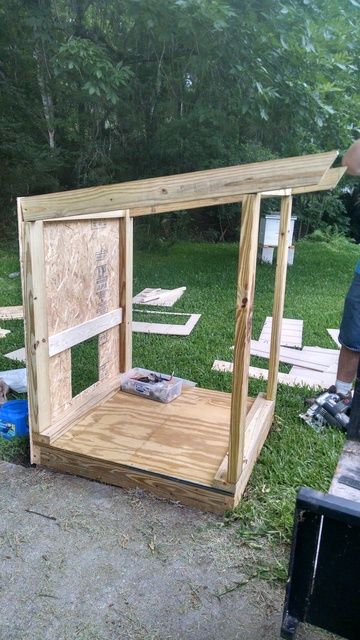
Once the back wall was completely assembled, and the pop door had been cut out and framed in (we made it slide from right to left), we attached it to the floor. Added front panels and the rafters. It went together fairly quickly after this. (Note the bee box in the back ground? Blog post coming soon!)
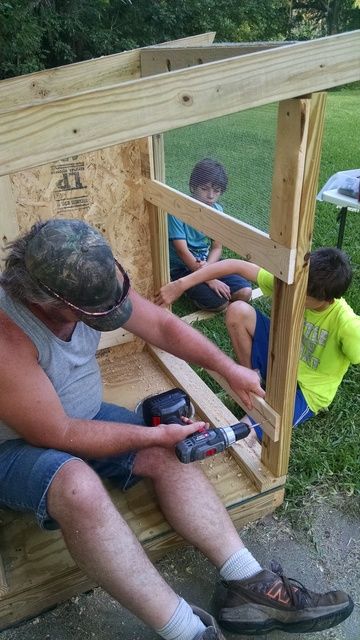
Attaching nest box support beams (with some young helpers!) Prior to this step, we had attached hardware cloth as window screening above where the nest boxes go.
The nest boxes gave us a little bit of trouble, and we both got a smidge frustrated. But once we realized what we had done wrong (I may have misread the instructions and we assembled them backwards...) we were able to fix the issue and voila! Nest boxes!
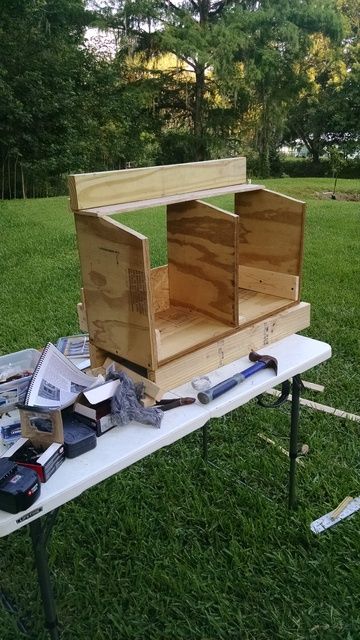
Inside view after we set the nest boxes in. We attached the interior nest box panel.
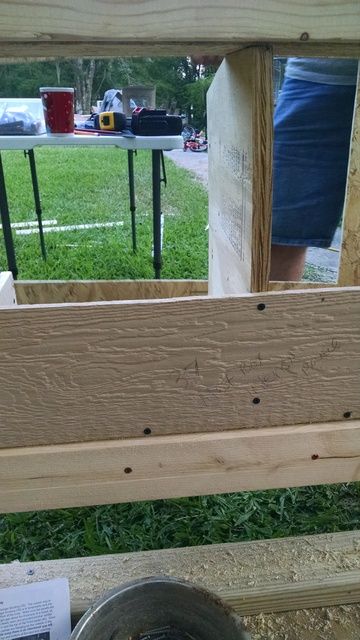
Exterior view of the nest boxes, and we attached the front panel around the nest boxes.
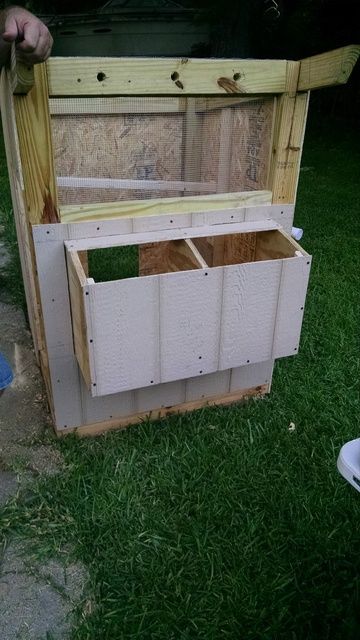
We had to stop shortly after attaching the nest boxes, because it was getting late. We were also expecting rain, so we set the roof and nest box lid in place until the next day.
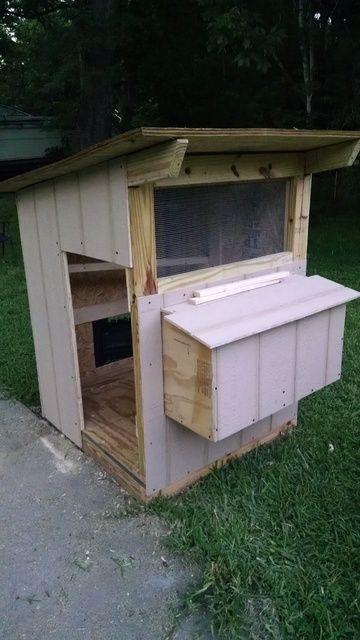
Interior view of nest boxes..

Interior view of the coop and roost.

If you know me, then you know how much I am for repurposing, reducing, reusing, recycling building materials. We moved the red tin with us from Ohio. Yes, I said we moved it. We sold and gave away a lot of stuff, especially farm stuff, before we moved. But this tin? This I stubbornly held on to...and I'm glad I did! We used it to roof the coop.

We attached drip edge all around the treated roof panel before attaching the metal roofing. We still have a nice piece of the metal roofing left that I can use to cover their run when we have it built.
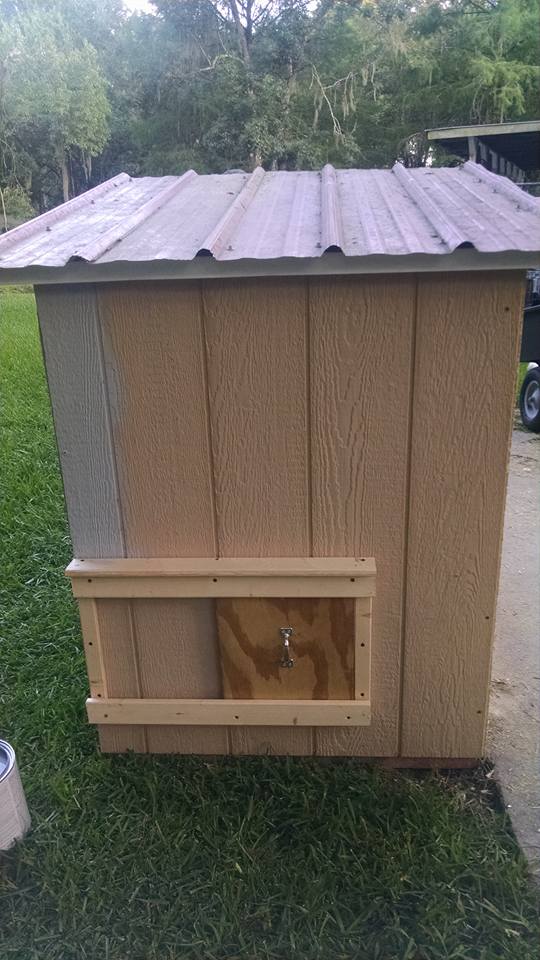
The back view of the coop after we finished the chicken door and track. And you can see in this pic, I started painting.
Front view. We hung the window panel, attached the side door, and attached the nest box panel. We still need to add locks to the door, but we had sadly lost 2 of our hens yesterday morning to predation, so we quickly moved the remaining 3 to the coop and used a cement block as a redneck "lock" for the door.

As you can see, I managed to get one side painted. Temporary prop to hold the window open for good airflow, and cement block lock :D Hoping to work on the run and finish painting after work tomorrow.

I absolutely love, love, love this little coop! I will also love when we have it done to completion.


